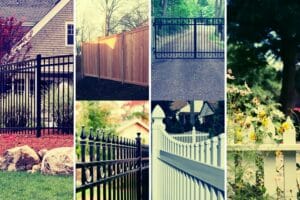
Garden Fence Ideas – One of the most popular ways to make your outdoor garden more beautiful is to put up the right garden fence. Unfortunately, with the different fencing options available in today’s market, it can be confusing to pick one. But it doesn’t mean that you won’t be able to find a perfect fence style that’s suitable for your needs.
Depending on your preferred fence design for your outdoor garden, you can either do the installation on your own or hire fencing experts to put it up. Regardless of your choice, below are some of the ways on how you can put up the most appropriate fence, like a deer fence, for your outdoor garden:
1. Have A Plan – Garden Fence Ideas

Garden fences can be a beautiful and functional part of your house. However, like any other part of your home, it also requires planning. With a well-detailed plan, you can save more time in the long run.
So, before you start digging the first hole, make sure to:
- Prepare The Area – Get rid of any plants and old fencing along the area. If you have some climbing plants that you want to keep, cut them back to the ground so they can grow again to cover the new fence. Unwanted climbers, like ivy, must be eliminated or killed using a weedkiller. Then, mark out the area using a string.
- Check The Utility Lines – You don’t want your shovel to take out the phone line. Thus, before digging, request that your utility company sends somebody to mark the underground lines within your preferred fencing area.
- Be Aware Of Your Codes – When putting up any kind of fence, permits may be needed depending on where you reside. The building regulations for fences may change and vary from one place to another. It may also be based on some factors, including the construction materials, height, location, and type of fence.
If you don’t want to violate the regulations, ask your area’s zoning department to know the applicable codes or laws before fencing.
- Let Your Neighbors Know – A lot of homeowners may find it a bit awkward to tell their neighbors regarding the fence’s installation. However, having a conversation with your neighbors about your plans on fencing your outdoor garden ideas may prevent disputes that may arise once installation starts.
2. Choose The Right Fencing Materials Wisely – Garden Fence Ideas

The material for your chosen fence determines its price and appearance. Each product has both pros and cons, so it comes down to why you’re building one in the first place.
Here are some of the materials you can choose from:
- Vinyl – Affordable, durable, and lightweight, vinyl fences may mimic the appearance of plastic or wood. They’re also known to be low-maintenance but aren’t good for security.
- Wood – Wood garden fence ideas, one of the popular products for fencing, wood is perfect for privacy and it also comes with a natural look. With regular maintenance, it may last for years with proper staining and upkeep.
- Chain, Mesh, And Wire – These are the most inexpensive options you can consider. They’re also a good choice for keeping in animals and marking your property. But a chain link fence may not help you much in terms of privacy and some consider this as less visually appealing than vinyl or wood.
3. Determine The Spacing For Every Fence Post

Decide how much space you want to set between every fence post. Usually, the right fence posts have six to eight feet spaces in between.
The corner post will be set first. To ensure that other posts in between are properly aligned, make sure to stretch a line from every corner post–this may serve as your guide. You may also mark the position where you want every post hole dug.
4. Dig The First Fence Post Hole
Dig the hole for your first fence post. If you have a fixed point for the other end of your fence, like a garage or house, you may start there.
The hole should be two feet deep. Make it wide as the width of the spade so you can have more space to put the concrete mix around every side of your post.
5. Secure Your Fence Post
Place your fence post in the hole you dug. For bigger posts, it’s best to put some rubble around the base of your fence post for extra support. You may also consider purchasing a post-fixing concrete mix or sika post mix that can be set quickly and combine it as per the instructions of the packs. Just be sure that the post is level before letting the concrete completely set.
You may also use post supports that may be either bolted to concrete or hammered into the ground. However, this may result in shorter fence posts.
6. Attach Your Fence Panel
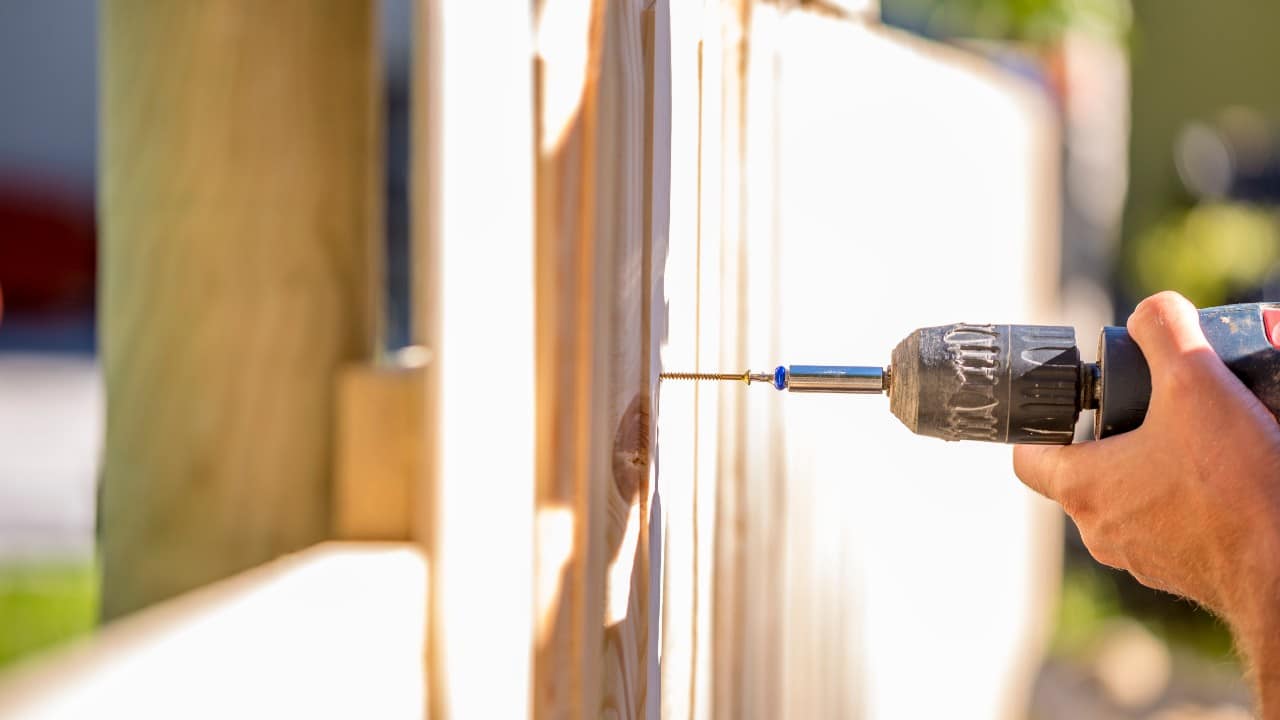
Dig out another hole for your second post. Attach your fence panel to your first post with the use of the panel clips. Make sure to space these evenly up to your fence panel. Then, nail the clips to your first post and the panel.
If you want to ensure that your fences will last as long as possible, see to it that the panels don’t rest on the ground. This may increase the chances of rotting.
7. Position Your Second Fence Post
Place the post in the hole and ask someone to support it while attaching the fence panel clips to it. This way, it would hold the panel’s other end.
When the panel is already attached to your fence post, use the post-fixing concrete to position the fence post. But make sure that it’s leveled properly.
8. Repeat The Process To The Rest Of Your Fence Posts
Repeat the process until you’re done putting up the fence panels for your outdoor garden. If you’re putting a trellis on the top of your fence, make sure to screw it to the posts. It might be a great idea to drill the holes first so the fence won’t split.
Conclusion – Garden Fence Ideas
Your fence will be an essential part of your outdoor garden. No matter what style of fencing you choose, make sure to follow the tips above to ensure proper installation.
However, if you don’t know where tor get started and confused with the available fences that you can consider for your outdoor garden, don’t hesitate to hire professional fencing experts to help you.